Reference Book: Star Wars Saga Edition Web Enhancements (Customizing Star Wars Minis)
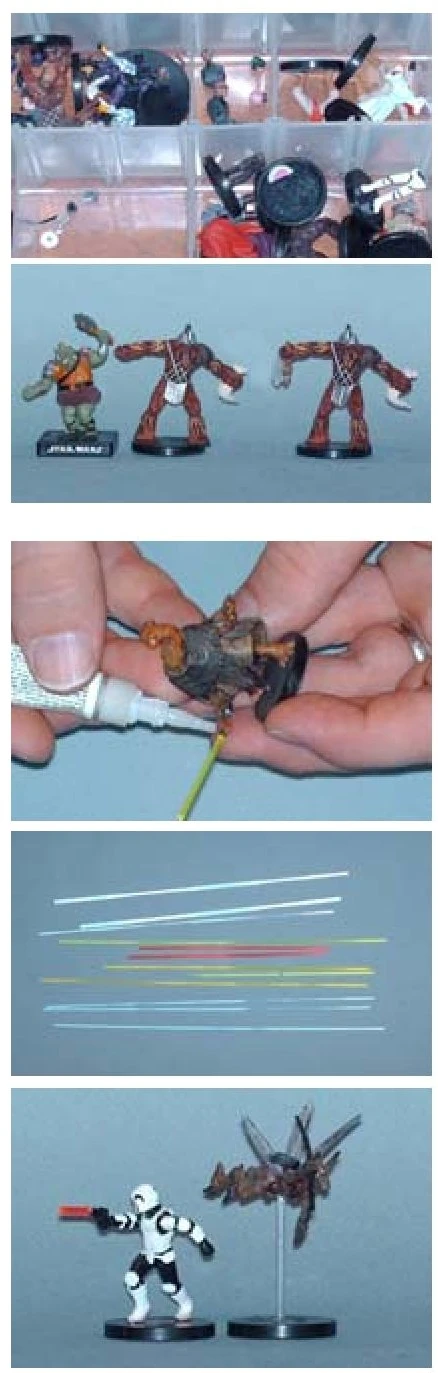
The quickest and easiest way to add an element is to take it from another miniature. When customizing, never throw away any pieces that are left over after you cut miniatures apart. You never know when you might need a particular piece to add to a new custom. Blasters, lightsabers, jet packs, armor parts, belt pouches, and other equipment and weapons can be cut from one fig and added to another to change its appearance.
In general, the process is the same as for switching heads or arms between figs. First, cut off the piece that you want to add and hold it in the new position to see if it looks correct. If it does, fix it in place with superglue. (For larger elements such as jet packs, you might want to pin them in place first.) When the glue dries, repaint as needed.
Attaching lightsabers can be tricky because the surface areas being glued together are very small and the connection might not hold. Fortunately, you can fix this in several different ways. First, after the superglue has dried, you can add an extra drop where the pieces meet to help secure the hold. Another idea is to cut off the hand holding the lightsaber, not just the lightsaber itself, and glue the entire piece to the custom's wrist. This provides more surface area, which in turns provides a better hold.
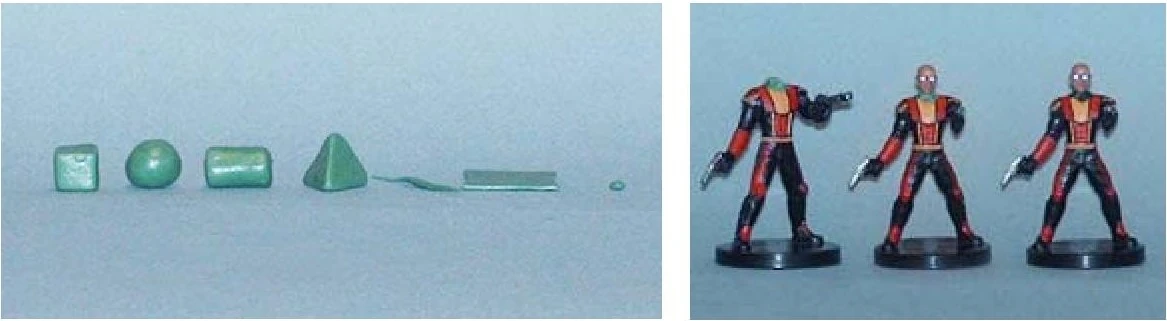
What if you want an extra lightsaber, or one in a color not yet available? There are several items that you can use to make effective-looking lightsabers. Most hobby stores carry 1/16-inch acrylic rods that can be cut to size and come in many different colors. You can also trim colored toothpicks and paper clips.
You can use acrylic rods to create other effects, too. For example, a red rod can work as a line of blaster fire. Just cut off the end of the blaster to make a flat surface, and glue on a small piece of the rod. Or try using clear acrylic rods to make your figure look as if it's flying. To do this, carefully glue the rod to the base, and after it dries, glue on the piece that's supposed to be hovering. Then add an additional drop of glue to secure the connection. You can also use a hand drill to drill a hole in each part to provide a better grip. Clear rods that are thicker (1/8-inch and 1/4-inch) are useful for supporting larger figs.
You can create elements by using putty or two-part epoxy (also called "Green Stuff"). Both have benefits and drawbacks, but with practice, you'll be able to tell what works best for you. Be sure to read the warnings on the packages and follow all the instructions and safety precautions.
- Benefits of Putty: Putty is easy to work with, you get a lot for you money, and it stays malleable for a long time. If a piece of putty becomes overly soft while you're working with it, put it in the freezer for a few minutes to let it firm up. Depending on the type of putty, you can bake it in the oven to dry and harden it, or you can just let it dry overnight.
- Drawbacks of Putty: First, putty tends to shrink slightly when it dries. Second, if the putty is not the kind that air dries, you won't be able to sculpt it directly on the miniature. Most importantly, when putty is baked in the oven, it gives off toxins. Never bake it on a cooking sheet that you plan to use for food. A small piece of aluminum foil works great as a cooking surface and can be used over and over again.
- Benefits of Epoxy: Epoxy is made by mixing two components together, and it air dries overnight. Since it doesn't need to be baked, you can work with it directly on the miniature. It works better for sculpting details, and it's easier to create smaller elements with epoxy than with putty.
- Drawbacks of Epoxy: First, epoxy starts to harden about an hour after you mix the two components together. Second, as you work with the epoxy, it will become sticky to the touch. (Dip your fingers in water while working to help avoid this.) Finally, epoxy is more expensive than putty, so mix the components in small amounts at a time.
So how do you use putty and epoxy to create new elements for customs? Most elements are made of basic shapes with a bit of detailing. For example, belt pouches are small cubes, shoulder pads of armor are half spheres, and so on. Practice making basic shapes such as cubes, spheres, cylinders, pyramids, coils, and flat planes. By combining simple shapes, you can create many elements.
Since epoxy can be used directly on miniatures, it's easy to create missing pieces and fill in gaps on figs. For example, if you have a miniature that's missing a neck, sculpt a short cylinder and attach it directly to the body. Use a carving tool to refine the shape or add details. When the epoxy is dry, glue a head directly onto the new neck and paint as needed.
A common element that's easy to make is a cape. First, sculpt a flat plane and attach it to the figure's shoulders. Bend the plane slightly and curl up the edges to give it some shape. Then attach a small crescent shape and two small dots as buttons. If you want a more dynamic effect, set the figure so the new cape is hanging down as it dries. After it's fully dried, paint it.
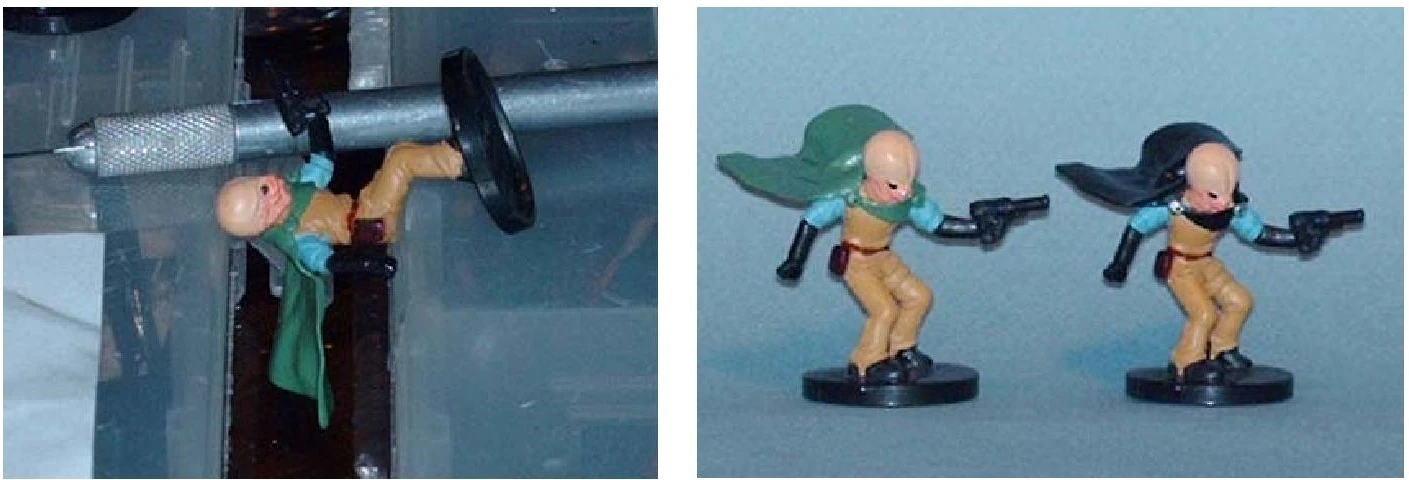
Another way to create dynamic capes and banners is to use ordinary typing paper. Cut the paper into a cape shape and paint it. When it's dry, bend the paper into the right shape, using the curved surface of a paintbrush to help make a nice curl. When the cape is in the correct shape, mix a solution that's half water and half white glue, and paint the entire surface. It might take a few coats; when done, be sure to wash the glue out of your brushes. When the glue dries, use superglue to fix the cape into position on the figure.

As with any kind of customizing, the best approach when adding elements is to experiment. The more you create additions, the better you'll become and the easier it will get.